Introduction
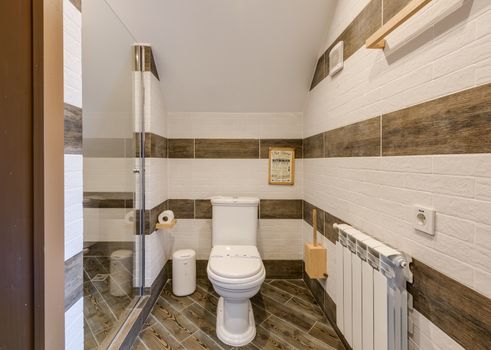
Building a wooden bathroom countertop can transform your space into a stylish and functional area. This project not only enhances the aesthetics of your bathroom but also allows you to personalize the dimensions and finishes to suit your needs. In this article, we will explore the advanced techniques involved in constructing a wooden bathroom countertop, focusing on precision joinery and achieving a professional finish.
Materials and Tools Needed
Before diving into the construction process, gather the necessary materials and tools to ensure a smooth workflow:
- Materials:
- High-quality hardwood (e.g., oak, maple, or walnut)
- Wood glue
- Wood finish (e.g., polyurethane, oil, or varnish)
- Sandpaper (various grits)
- Wood filler (optional)
- Tools:
- Table saw or circular saw
- Joiner or planer
- Router with appropriate bits
- Clamps
- Drill and drill bits
- Measuring tape and square
- Level
- Finishing brushes or rags
Step 1: Planning and Measuring
Start by measuring your bathroom space to determine the dimensions of the countertop. Consider the layout of your sink and any other fixtures that will be integrated into the countertop. Create a detailed sketch or blueprint to visualize the final design.
Step 2: Selecting and Preparing the Wood
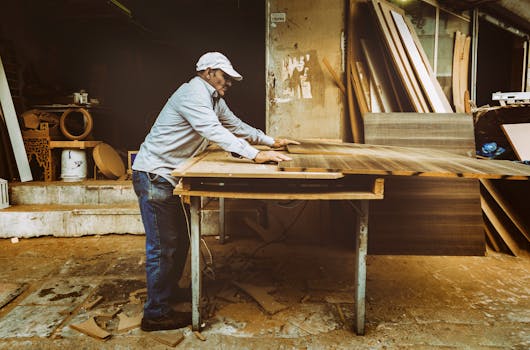
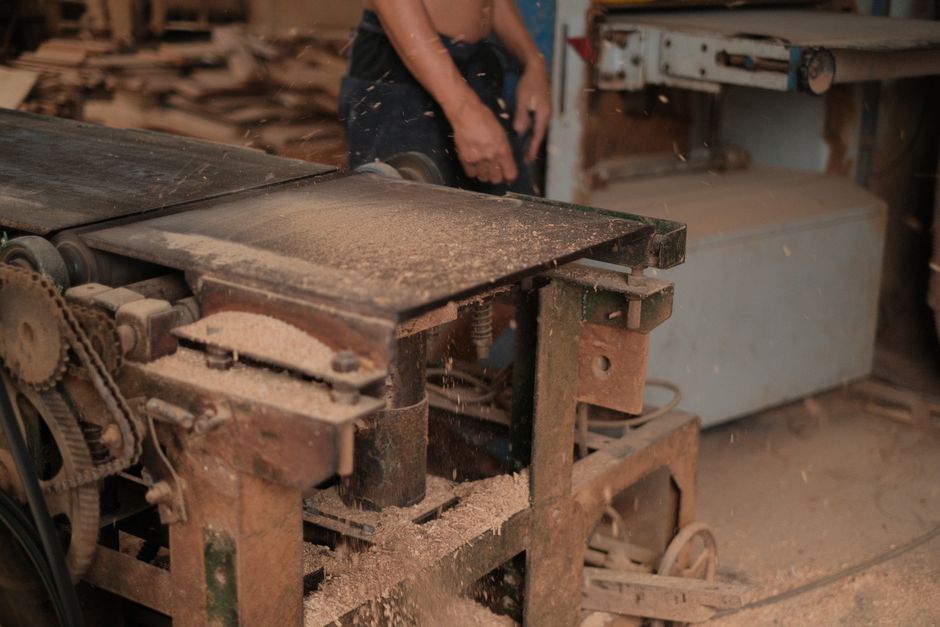
Choose a hardwood species that matches your design aesthetic and budget. For a bathroom environment, select a wood known for its resistance to moisture, such as teak or cedar. Once selected, cut your wood to size based on your measurements. Use a table saw or circular saw for straight cuts and ensure all pieces are square.
Step 3: Joinery Techniques
Joinery is critical in achieving the strength and durability of your countertop. Here are some advanced techniques to consider:
1. Edge Joining
For larger countertops, you will need to join multiple boards together. Use the following steps for edge joining:
- Joint the edges of your boards on a jointer to ensure they are perfectly flat.
- Apply a thin layer of wood glue to the edges and clamp them together. Use cauls to maintain flatness during the curing process.
- After the glue has dried, sand the seams using a planer or sandpaper to ensure a smooth transition between boards.
2. Using Mortise and Tenon Joints
For added strength, consider using mortise and tenon joints, especially if you plan to build a supporting frame for the countertop:
- Mark the locations of the mortises on the supporting structure and the tenons on the countertop.
- Use a chisel and drill to create the mortises, ensuring they are precise.
- Cut tenons on the ends of your countertop and test fit them into the mortises before applying glue.
Step 4: Routing Edges and Sink Cutouts
Once your countertop is assembled, it's time to add decorative edges and cutouts for the sink:
- Use a router with a round-over or ogee bit to create a finished edge profile on the countertop.
- For the sink cutout, measure and mark the desired location. Use a jigsaw or router to cut out the opening. Ensure the edges are smooth and free of splinters.
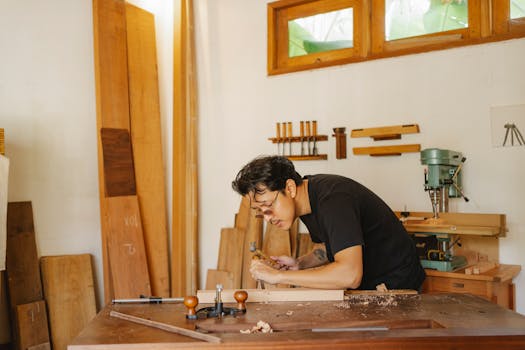
Step 5: Sanding for a Professional Finish
Sanding is crucial for achieving a professional finish. Follow these steps:
- Start with a coarse grit (e.g., 80) and gradually move to finer grits (up to 220).
- Sand in the direction of the wood grain to avoid scratches.
- Pay special attention to edges and corners, ensuring they are smooth and rounded.
Step 6: Applying Finish
Choose a finish that protects the wood from moisture while enhancing its natural beauty:
- Apply a wood sealer or primer if necessary, then follow with your selected finish (e.g., polyurethane or oil).
- Use a brush or rag to apply thin, even coats, allowing adequate drying time between applications.
- For maximum durability, apply at least three coats, sanding lightly between each coat.
Step 7: Installation
Once your countertop is fully finished and dried, it is ready for installation:
- Ensure the cabinetry is level before placing the countertop.
- Use silicone caulk around the sink and edges to create a waterproof barrier.
- Secure the countertop to the cabinetry using brackets or screws, as necessary.
Final Thoughts
Building a wooden bathroom countertop requires attention to detail and skill in joinery techniques. By following these advanced methods, you can create a beautiful and durable piece that enhances your bathroom's functionality and style. For detailed plans and additional resources, consider checking out Ted Woodworking, which offers a comprehensive library of woodworking plans.
FAQs
1. What type of wood is best for a bathroom countertop?
Hardwoods like teak, oak, and maple are ideal due to their durability and resistance to moisture.
2. How do I maintain a wooden bathroom countertop?
Regularly apply a protective finish and clean with mild soap and water. Avoid harsh chemicals that could damage the wood.
3. Can I use plywood for a bathroom countertop?
While plywood can be used, it is recommended to use solid hardwood for better durability and aesthetics.
📚 Related Articles
🔨 Want 16,000+ Woodworking Plans?
Get instant access to step-by-step plans with blueprints and cut lists.
Get Instant Access →