Can I Create A Wooden Bathroom Partition? Step-by-Step Guide
If you're looking to create a little privacy in your bathroom without breaking the bank, a wooden bathroom partition is a fantastic solution. Building your own partition can not only save you money but also allow you to customize the design to fit your space perfectly. In this guide, we will walk you through the process of creating a wooden bathroom partition step-by-step, focusing on budget-friendly materials and techniques.
Why Choose a Wooden Bathroom Partition?
Wooden partitions offer a warm and inviting look to your bathroom. They are durable, customizable, and can be made to suit any style. Furthermore, wood is an excellent insulator, helping to reduce noise between spaces. Let’s dive into how you can create your very own wooden partition!
Materials Needed
- 1x4 or 1x6 lumber (choose affordable options like pine)
- Plywood sheets (for the partition surface)
- Wood screws
- Wood glue
- Sandpaper (medium and fine grit)
- Wood stain or paint (for finishing)
- Measuring tape
- Circular saw or miter saw
- Drill
- Level
- Safety gear (gloves, goggles)
Step 1: Measure Your Space
The first step in building your wooden bathroom partition is to measure the area where you want to install it. Consider the height and width that will best suit your needs, keeping in mind the overall look of your bathroom. A standard height for bathroom partitions is around 6 feet, but you can adjust this to your preference.
Step 2: Plan Your Design
Before you start cutting wood, sketch out your design. Consider whether you want a full-height partition or one that stops short of the ceiling. Remember that open-top designs can make a small bathroom feel larger.
If you're looking for inspiration for your design, Ted Woodworking offers a variety of plans that can help you create a functional and stylish partition.
Step 3: Cut the Lumber
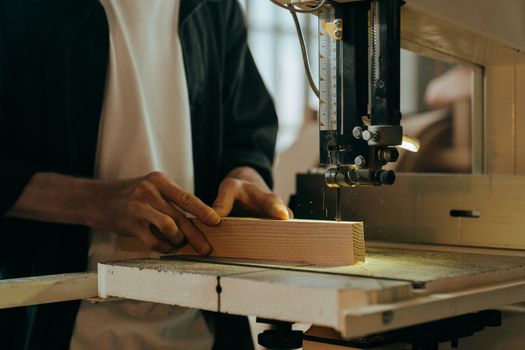
Using your measurements and design, cut your lumber to size. If you’re using 1x4 or 1x6 boards, these will serve as the frame for your partition. Cut two vertical pieces for the sides and one or more horizontal pieces to connect them, depending on your design.
Step 4: Assemble the Frame
Start by assembling the frame of your partition. Use wood screws and wood glue to attach the horizontal and vertical pieces together. Ensure that everything is square by checking with a level. This is crucial for the stability of your partition.
Step 5: Attach the Plywood
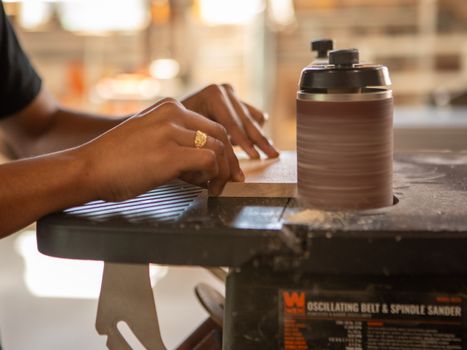
Once your frame is complete, measure and cut the plywood sheets to fit the frame. Attach the plywood to the frame using wood screws. Ensure that the surface is smooth and free from splinters by sanding it down with medium and then fine-grit sandpaper.
Step 6: Finishing Touches
Now that your partition is constructed, it’s time to finish it. You can choose to paint or stain the wood. Staining can enhance the natural beauty of the wood, while paint can add a pop of color to your bathroom. Be sure to use a water-resistant finish for longevity in a humid environment.
Step 7: Install the Partition
To install the partition, secure it to the floor and/or wall with brackets or hinges, depending on your design. Make sure it is stable and does not wobble. Use a level to ensure it is straight.
Additional Cost-Saving Tips
- Repurpose Materials: Consider using reclaimed wood or leftover materials from previous projects to save costs.
- Shop Sales: Keep an eye out for sales at your local hardware store for lumber and supplies.
- DIY Finishing: Instead of hiring a professional, take the time to learn how to finish your project yourself.
- Limit the Size: A smaller partition requires fewer materials, which can significantly reduce costs.
Conclusion
Building a wooden bathroom partition is a rewarding project that enhances both privacy and style in your space. With a little planning and effort, you can create a beautiful partition without spending a fortune. Utilize resources like Ted Woodworking for plans and inspiration, and remember to focus on budget-friendly materials and techniques throughout the process.
FAQ
- What type of wood is best for a bathroom partition?
Pine or cedar is ideal due to their affordability and resistance to moisture. - How do I maintain my wooden bathroom partition?
Regularly check for signs of moisture damage and apply a protective finish as needed. - Can I add shelving to my wooden partition?
Yes, adding shelves can be a great way to utilize space and enhance functionality.
📚 Related Articles
🔨 Want 16,000+ Woodworking Plans?
Get instant access to step-by-step plans with blueprints and cut lists.
Get Instant Access →