Introduction
Building a kitchen shelf can be a rewarding DIY project, especially if you want to add extra storage space or display your favorite dishes. Many people shy away from woodworking projects, thinking they require power tools and advanced skills. However, you can create a beautiful and functional kitchen shelf using simple hand tools. In this guide, we will walk you through the steps to build a kitchen shelf without power tools.
Tools and Materials Needed
Before you start your project, gather the necessary tools and materials. Here’s a basic list:
- Tools:
- Hand saw
- Chisel
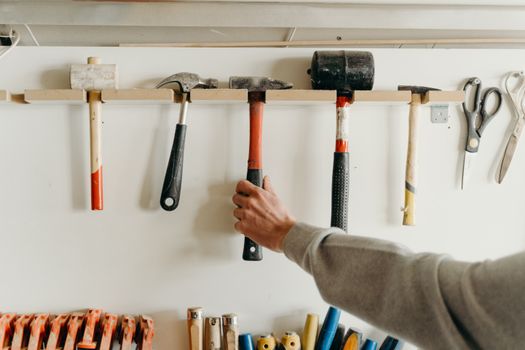
- Hammer
- Square
- Tape measure
- Pencil
- Level
- Sandpaper
- Clamps
- Materials:
- Wood boards (choose your desired type and size)
- Wood screws
- Wood glue
- Finish (stain or paint, optional)
If you need inspiration or detailed plans, consider checking out resources like Ted Woodworking.
Step-by-Step Guide to Building a Kitchen Shelf
Step 1: Planning Your Shelf
Start by determining the size and style of the shelf you want to build. Consider the space available in your kitchen and how much weight the shelf will need to support. Sketch a simple design that includes dimensions and the number of shelves you plan to install.
Step 2: Measuring and Cutting the Wood
Once you have your design, measure the wood boards according to your dimensions. Use your tape measure and square to mark straight lines on the wood.
To cut the wood, use the hand saw. Make sure to cut along the lines carefully, keeping the saw steady for a clean edge. You may need to sand the edges afterward to smooth any rough spots.
Step 3: Preparing the Shelf Supports
Your shelf will need support brackets or cleats, depending on your design. If using cleats, cut two pieces of wood that will be mounted to the wall, ensuring they are level and secure.
To attach the cleats, hold them in place and mark where the screws will go. Pre-drill holes with a chisel to prevent splitting, then secure them with wood screws.
Step 4: Assembling the Shelf
Now it’s time to attach the shelf to the supports. If you’re using brackets, position the shelf on top of them and mark where to drill. Use wood glue on the contact points for extra stability, and clamp everything together while you secure it with screws.
Step 5: Sanding and Finishing
After assembling your kitchen shelf, it’s important to sand it down to avoid splinters and achieve a smooth finish. Start with a coarse sandpaper and work your way to a finer grit. Once sanded, you can choose to stain or paint your shelf to match your kitchen decor.
Step 6: Installing the Shelf
Finally, it’s time to install your shelf. Use a level to ensure it’s straight, and mark the wall where the supports will attach. Drill holes and secure the shelf with screws. Make sure everything is tight and sturdy.
Tips for Success
- Take your time measuring and cutting to ensure accurate dimensions.
- Always double-check that everything is level before securing.
- Don’t rush the sanding and finishing process for the best appearance.
- Consider adding a coat of wood sealant for extra durability.
Conclusion
Building a kitchen shelf without power tools is not only possible but can also be an enjoyable and satisfying project. With a few basic hand tools, some wood, and a little creativity, you can create a functional piece that enhances your kitchen space. Remember to plan carefully, take your time, and have fun throughout the process!
Frequently Asked Questions
- Do I need a lot of woodworking experience to build a shelf?
No, this project is beginner-friendly and can be completed with basic skills. - What type of wood is best for kitchen shelves?
Hardwoods like oak or maple are durable, but softer woods like pine can also work well. - How do I make sure my shelf can hold weight?
Use sturdy materials, secure supports, and ensure everything is level and tightly fastened.
📚 Related Articles
🔨 Want 16,000+ Woodworking Plans?
Get instant access to step-by-step plans with blueprints and cut lists.
Get Instant Access →