Introduction
Are you looking for knife storage solutions that not only keep your kitchen organized but also add a touch of rustic charm? A DIY wooden knife block and utensil holder is the perfect project for you! This easy woodworking project will not only help declutter your kitchen counters but also showcase your creativity with custom knife blocks and wooden kitchen tools. In this article, we will guide you through the process of making your own wooden knife block and utensil holder, ensuring that your kitchen remains both functional and stylish.
Step-by-Step Guide for DIY Knife Block
Follow this step-by-step guide for DIY knife block and utensil holder to create a stunning piece that fits your kitchen decor:
Materials Needed
- Wood of your choice (best wood for kitchen utensil holder includes hardwoods like maple or oak)
- Wood glue
- Wood screws
- Sandpaper (various grits)
- Wood finish or sealant
- Measuring tape
- Saw (circular or hand saw)
- Drill
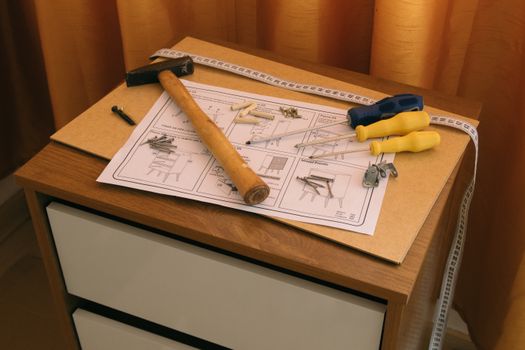
Step 1: Planning Your Design
Before you start cutting, take some time to sketch out your design. Consider how many knives you need to store and how you want your utensil holder to look. Creative knife block designs can vary widely; you can choose a simple rectangular block or something more intricate.
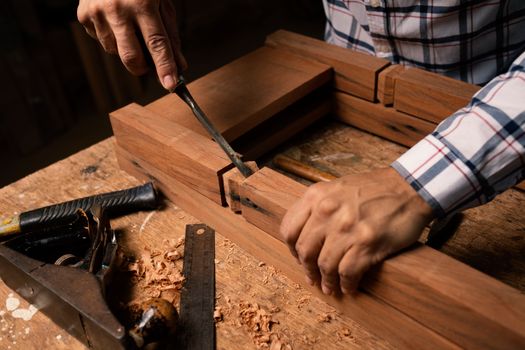
Step 2: Cutting the Wood
Once you have your design ready, measure and cut your wood into the required pieces. For a typical knife block, you will need a base, sides, and a top cover. Don’t forget to cut the slots for the knives; these should be uniformly spaced to ensure safety and accessibility.
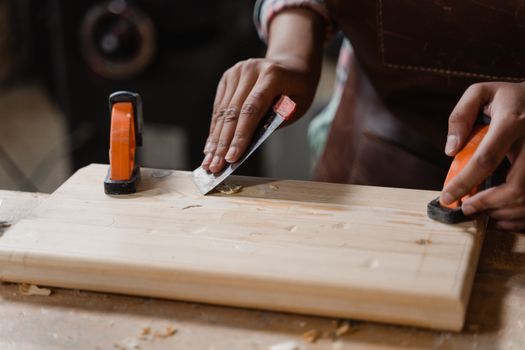
Step 3: Sanding the Edges
After cutting, use sandpaper to smooth all edges and surfaces. This step is crucial for both aesthetics and safety, preventing any splinters or rough edges.
Step 4: Assembling the Block
Start assembling your knife block by applying wood glue to the edges of the base and sides. Use clamps to hold everything in place until the glue dries. For added stability, you can also screw the pieces together.
Step 5: Creating the Utensil Holder
For the utensil holder, you can use a similar approach. Cut a slightly larger piece of wood for the base and taller sides to accommodate various utensils. Drill holes or cut slots if you want to add a decorative element.
Step 6: Finishing Touches
Once assembled, apply a wood finish or sealant to protect your projects and give them a beautiful sheen. This is especially important for kitchen items that will be exposed to moisture.
Practical Tips for Woodworking Projects
- Always measure twice before cutting to avoid mistakes.
- Choose wood that complements your kitchen decor, ensuring that your DIY kitchen decor blends seamlessly.
- Consider adding rubber feet to the bottom of your knife block to prevent slipping.
FAQs
What is the best wood for kitchen utensil holder?
Hardwoods like maple, oak, or walnut are excellent choices for kitchen utensil holders due to their durability and beautiful grain patterns. They can withstand daily wear and tear while looking great.
How long does it take to make a knife block?
The entire process can take a few hours, including cutting, assembling, and finishing. If you allow time for the glue and finish to dry, you might want to allocate a day for the project.
Can I customize my knife block design?
Absolutely! One of the great things about DIY projects is the ability to customize. You can vary the shape, size, and even add decorative elements to match your kitchen’s style.
Conclusion
Creating a DIY wooden knife block and utensil holder not only enhances your kitchen's organization but also allows you to express your creativity. With this step-by-step guide, you can easily embark on your own kitchen woodworking projects. Whether you are a beginner or an experienced woodworker, this project is an excellent way to practice your skills and add a personal touch to your home. For more woodworking inspiration, check out How to Build Kitchen Cabinets from Scratch: A Step-by-Step Guide and discover how to elevate your DIY kitchen organization with wood.
🔨 Want 16,000+ Woodworking Plans?
Ted's Woodworking gives you instant access to over 16,000 step-by-step plans with detailed blueprints, cut lists, and material lists for every project.
Get Instant Access →