Introduction
\nBuilding a wooden kitchen step stool is a practical and rewarding project for any beginner woodworker. Not only is it useful for reaching those high kitchen cabinets, but it also adds a touch of personality to your home. In this guide, we will walk you through the simple steps to create a sturdy wooden step stool using basic tools and materials.
\n\nMaterials Needed
\n- \n
- 1x12-inch pine board (8 feet long) \n
- 1x4-inch pine board (8 feet long) \n
- Wood screws (1.25 inches) \n
- Wood glue \n
- Sandpaper (80, 120, and 220 grit) \n
- Wood stain or paint (optional) \n
- Finish (polyurethane or similar) \n
Tools Required
\n- \n
- Measuring tape \n
- Square \n
- Saw (circular saw or miter saw) \n
- Drill with drill bits \n
- Screwdriver \n
- Clamps \n
- Paintbrush (if staining or painting) \n
Step-by-Step Instructions
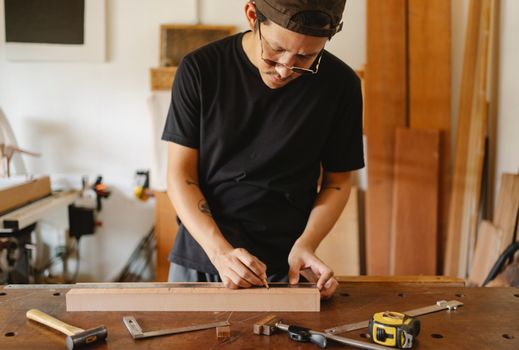
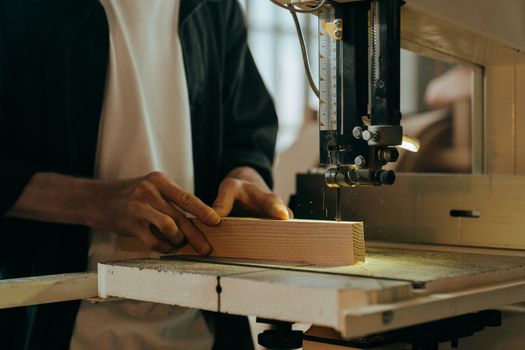
\n\nStep 1: Measure and Cut the Wood
\nStart by measuring and cutting your wood pieces. You will need the following cuts:
\n- \n
- 2 pieces of 1x12 board - 24 inches (for the top) \n
- 4 pieces of 1x4 board - 18 inches (for the legs) \n
- 2 pieces of 1x4 board - 20 inches (for the support beams) \n
Use a square to ensure your cuts are straight and clean. A circular saw or miter saw will work best for this project.
\n\nStep 2: Assemble the Legs
\nTake the four 18-inch pieces of 1x4 and attach them to the ends of the 24-inch top pieces. To do this, use wood glue along the edges and secure them with 1.25-inch wood screws. Make sure the legs are positioned at a 90-degree angle to the top. Repeat for the other side.
\n\nStep 3: Add the Support Beams
\nOnce the legs are attached, take the two 20-inch support beams and place them between the legs. This will add stability to your stool. Use wood glue and screws to secure them in place, about 6 inches from the bottom of the legs.
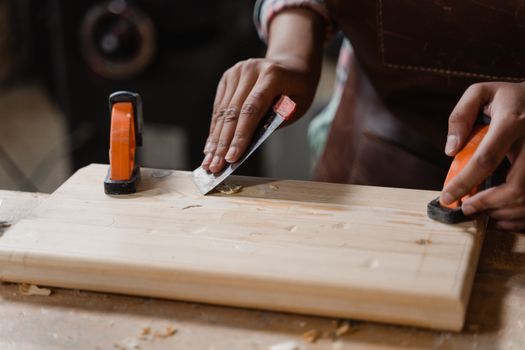
\n\nStep 4: Sand the Edges
\nAfter the glue has dried, use sandpaper to smooth all edges and corners. Start with 80 grit for rough surfaces, then move to 120 grit, and finish with 220 grit for a smooth finish.
\n\nStep 5: Finish the Wood
\nAt this point, you can choose to stain or paint your stool. If you prefer a natural wood look, apply a clear finish like polyurethane to protect the wood. Use a paintbrush and apply it in even strokes. Let it dry completely before moving on.
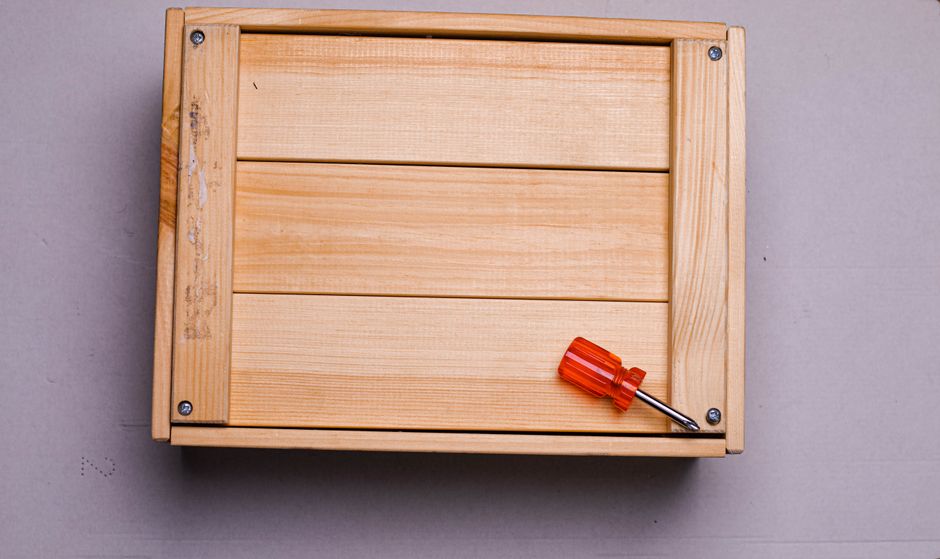
\n\nStep 6: Final Assembly
\nOnce the finish is dry, check all screws to ensure they are tight and secure. If needed, add extra wood glue to any joints that seem loose. Your sturdy wooden kitchen step stool is now complete!
\n\nAdditional Tips
\n- \n
- For extra stability, consider adding a third support beam in the middle of the legs. \n
- If you want a more decorative touch, consider adding a backrest or handles. \n
- For detailed plans, you can check out resources like Ted Woodworking for inspiration. \n
Conclusion
\nBuilding a wooden kitchen step stool is a fantastic project for beginners. With just a few materials and basic tools, you can create something practical and beautiful for your home. So gather your materials, follow the steps outlined above, and enjoy your new step stool!
\n\nFAQ
\n- \n
- What type of wood is best for a step stool?
Pine is a great choice for beginners due to its availability and ease of handling. However, hardwoods like oak or maple can offer more durability. \n - How much weight can a homemade step stool hold?
A well-constructed step stool can hold up to 300 pounds, but it's essential to ensure all joints are secure for safety. \n - Can I customize the size of the step stool?
Absolutely! You can modify the dimensions to fit your needs, just ensure that the proportions remain stable for safety. \n
📚 Related Articles
🔨 Want 16,000+ Woodworking Plans?
Get instant access to step-by-step plans with blueprints and cut lists.
Get Instant Access →