Creating a DIY Kitchen Utensil Holder with Wood
If you're looking to organize your kitchen while adding a touch of rustic charm, creating a DIY kitchen utensil holder is a fantastic project. This guide will take you through the steps to build a simple yet stylish wooden utensil holder that fits perfectly on your countertop. Best of all, it's beginner-friendly and requires minimal tools!
What You Will Need
- Materials:
- 1 piece of wood (1x6 inch board, about 24 inches long)
- Wood glue
- Wood finish or paint (optional)
- Tools:
- Measuring tape
- Pencil
- Table saw or hand saw
- Drill with drill bits
- Sander or sandpaper (medium and fine grit)
- Clamps
- Paintbrush (if finishing)
Step 1: Measure and Cut the Wood
Begin by measuring the dimensions of your utensil holder. A common size is around 6 inches wide, 6 inches deep, and 8 inches tall. Using your measuring tape, mark out the lengths on your piece of wood. You will need:
- Two pieces for the sides (6 inches wide by 8 inches tall)
- One piece for the front (6 inches wide by 6 inches tall)
- One piece for the back (6 inches wide by 8 inches tall)
- One piece for the bottom (6 inches wide by 6 inches deep)
Using a table saw or hand saw, carefully cut the pieces according to your measurements. Ensure your cuts are straight for a cleaner assembly.
Step 2: Sand the Edges
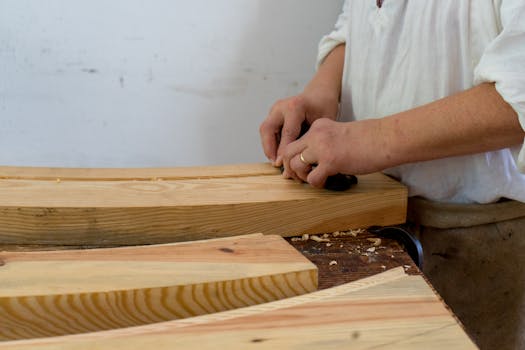
Once you have all your pieces cut, take your sander or sandpaper and smooth out all the edges. Start with medium grit sandpaper, then finish with fine grit to avoid splinters. This step is crucial, especially since the utensil holder will be frequently handled.
Step 3: Assemble the Holder
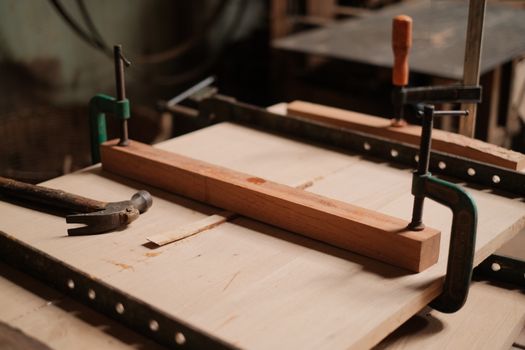
Using wood glue, begin assembling your utensil holder. Apply glue to the edges of the bottom piece and attach the sides first. Clamp them in place and let the glue dry according to the manufacturer's instructions.
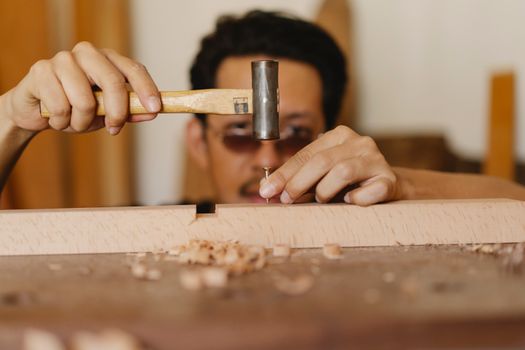
After the sides are secure, attach the front and back pieces in the same manner. Ensure everything is square and aligned properly. Once the glue has dried, you can reinforce the joints with screws if you want extra stability. Pre-drill holes to prevent the wood from splitting.
Step 4: Finishing Touches
Now that your holder is assembled, it’s time to finish it. You can choose to leave it natural or apply a wood finish or paint for a pop of color. If you opt for a finish, use a paintbrush and apply it evenly across the surface. Allow adequate drying time as per the product instructions.
For a more rustic look, consider using a wood stain. Just remember to follow up with a clear coat to protect the wood.
Step 5: Organize Your Utensils
Once your DIY kitchen utensil holder is dry and finished to your liking, it's time to put it to use! Place it on your kitchen countertop and fill it with your favorite cooking utensils such as spatulas, wooden spoons, and whisks. Enjoy the neatness and accessibility it brings to your cooking space.
Additional Resources
If you're looking for more detailed plans or variations of this project, consider checking out Ted Woodworking. They offer a wealth of woodworking plans that can help you expand your DIY skills.
Conclusion
Creating a DIY kitchen utensil holder is a satisfying project that enhances your kitchen's functionality and aesthetics. With just a few materials and basic tools, you can craft a beautiful holder tailored to your style. Happy woodworking!
FAQs
1. What kind of wood should I use for my utensil holder?
It’s best to use hardwoods like oak, maple, or walnut for durability, but softwoods like pine can work well too, especially for beginners.
2. Can I customize the size of the utensil holder?
Absolutely! You can adjust the dimensions based on your kitchen space and the utensils you want to store.
3. How can I prevent the wood from warping?
Ensure you use properly dried wood and apply a protective finish to help seal the wood and prevent moisture absorption.
📚 Related Articles
🔨 Want 16,000+ Woodworking Plans?
Get instant access to step-by-step plans with blueprints and cut lists.
Get Instant Access →