Introduction
Creating a DIY home office can be an exciting endeavor, especially as more people transition to remote work. One of the key considerations for any wood project is whether or not to apply a finish. While some may overlook this step, using a finish can significantly enhance the durability and aesthetic appeal of your furniture. Let's explore the necessity of finishes for your DIY home office wood projects, common mistakes to avoid, and troubleshooting tips.
Why Use a Finish?
A finish serves multiple purposes in woodworking:
- Protection: Finishes protect the wood from moisture, dirt, and wear over time, extending the life of your projects.
- Aesthetic Appeal: A good finish can enhance the natural beauty of the wood, bringing out its grain and color.
- Ease of Cleaning: Finished surfaces are easier to clean and maintain than raw wood.
- Stability: Finishes help to stabilize the wood, reducing the chance of warping or cracking.
Common Mistakes to Avoid
While applying a finish may seem straightforward, there are several common mistakes that DIYers make. Let’s explore these pitfalls and how to troubleshoot them.
1. Skipping the Sanding Process
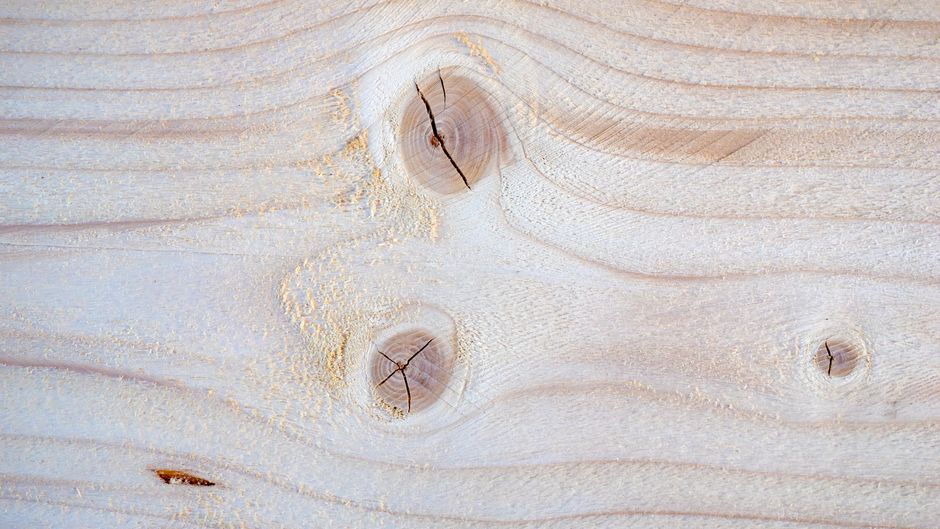
One of the most common mistakes is skipping the sanding process before applying a finish. Raw wood can have rough spots, splinters, and uneven textures that will be visible even after finishing.
Tip: Always sand your wood projects using progressively finer grits, starting from a coarse grit (around 80) and moving up to a fine grit (220 or higher). This will ensure a smooth surface that allows the finish to adhere properly.
2. Not Choosing the Right Finish
There are various types of wood finishes available, including varnish, polyurethane, lacquer, and oil. Choosing the wrong finish can lead to unsatisfactory results.
Tip: Consider the function of the piece and the type of wood you are using. For example, a durable polyurethane finish is ideal for a desk that will see daily use, while an oil finish may be more suitable for decorative items. Resources like Ted Woodworking can provide detailed plans and recommendations on finishes based on your project.
3. Applying Too Thick a Coat
Applying a finish too thickly can result in runs, sags, and an uneven appearance. Many DIYers tend to overapply, thinking more is better.
Tip: Apply thin, even coats, allowing each coat to dry thoroughly before applying the next. This not only prevents issues but also builds a more durable finish.
4. Ignoring Environmental Conditions
The environment in which you apply your finish can greatly affect the outcome. High humidity, low temperatures, or dust can all lead to problems.
Tip: Aim to finish your projects in a controlled environment. Ideally, temperatures should be between 60-80 degrees Fahrenheit, and humidity should be low to moderate. If working in a garage or basement, ensure proper ventilation and consider using a dehumidifier if necessary.
5. Forgetting to Test the Finish
Another frequent mistake is failing to test the finish on a scrap piece of wood before applying it to the final project. This can lead to unexpected results.
Tip: Always test the finish on a piece of the same wood or a scrap piece. This will give you a sense of how the wood will react and ensure you are satisfied with the color and sheen.
Troubleshooting Tips for Finishing Issues
Even with careful planning, issues can arise during the finishing process. Here are some common problems and how to fix them:
1. Cloudy or Milky Finish
If your finish appears cloudy or milky, this is often due to moisture trapped in the finish.
Fix: Allow the piece to dry completely in a warm, dry environment. If the issue persists, you may need to sand down the finish and reapply in better conditions.
2. Dust or Debris in Finish
Dust particles can settle into the finish while it dries, leaving an unsightly appearance.
Fix: Allow the finish to dry completely, then lightly sand the affected area and apply another coat. Using a dust cover during the drying process can help minimize this issue.
3. Uneven Color or Sheen
If your finish has an uneven color or sheen, it may be due to improper application technique.
Fix: Sand the uneven areas lightly and apply a uniform coat, ensuring even application with a quality brush or applicator. Following the manufacturer’s instructions on drying times and recoat intervals can also help achieve a consistent finish.
Conclusion
Using a finish for your DIY home office wood projects is essential for protecting your work and enhancing its beauty. By avoiding common mistakes and applying the right techniques, you can achieve a professional-looking result. Remember to take your time, choose the proper materials, and consult resources like Ted Woodworking for guidance. Happy woodworking!
FAQ
1. What type of finish is best for a home office desk?
For a home office desk, a durable finish like polyurethane is recommended due to its resistance to scratches and spills.
2. How long should I wait between coats of finish?
It typically takes 4-6 hours for most finishes to dry before applying a second coat, but always check the manufacturer's instructions for specific drying times.
3. Can I use a water-based finish on oil-based wood?
It's generally not advisable to mix water-based and oil-based finishes. Stick to one type for the best results, and ensure the surface is clean and dry before applying a new finish.
📚 Related Articles
🔨 Want 16,000+ Woodworking Plans?
Get instant access to step-by-step plans with blueprints and cut lists.
Get Instant Access →