Introduction
Using reclaimed wood for bathroom walls is a popular choice among homeowners and DIY enthusiasts. It adds character, warmth, and a unique aesthetic that new materials simply cannot replicate. But can you really use reclaimed wood in such a humid environment? In this guide, we will explore how to effectively incorporate reclaimed wood into your bathroom walls while ensuring durability and style.
Why Choose Reclaimed Wood?
- Eco-Friendly: Reclaimed wood is a sustainable option, repurposing materials that might otherwise go to waste.
- Unique Character: Each piece of reclaimed wood comes with its own history, providing a distinctive look.
- Durability: Many reclaimed woods have been naturally aged and often have better resilience than new wood.
Considerations Before Using Reclaimed Wood
Before diving into your project, consider the following:
- Moisture Resistance: Bathrooms are high-humidity areas. Make sure the reclaimed wood you choose is suitable for such conditions.
- Finishing: Proper finishing is crucial to prevent moisture damage.
- Source of Wood: Ensure that the wood has been treated for pests and is safe for indoor use.
Step-by-Step Guide to Installing Reclaimed Wood Bathroom Walls
Tools and Materials Needed
- Reclaimed wood boards
- Measuring tape
- Level
- Stud finder
- Circular saw or miter saw
- Nail gun or hammer
- Wood screws
- Wood finish (sealer or varnish)
- Safety gear (gloves and goggles)
Step 1: Measure Your Walls
Start by measuring the walls where you want to install the reclaimed wood. Use a measuring tape to determine the height and width of each wall. This will help you figure out how much wood you’ll need.
Step 2: Prepare the Wood
Inspect each piece of reclaimed wood for damage, mold, or pests. You may need to sand it down to remove rough edges and prepare the surface for finishing. Make sure to wear your safety gear while sanding.
Step 3: Finish the Wood
To protect the wood from moisture, apply a high-quality sealant or varnish. This will create a barrier against water and humidity. Allow the finish to dry completely according to the manufacturer's instructions.
Step 4: Locate the Studs
Using a stud finder, locate the vertical studs in your walls. Mark their positions with a pencil. This will ensure that when you attach the wood, it is securely fastened.
Step 5: Cut the Wood to Size
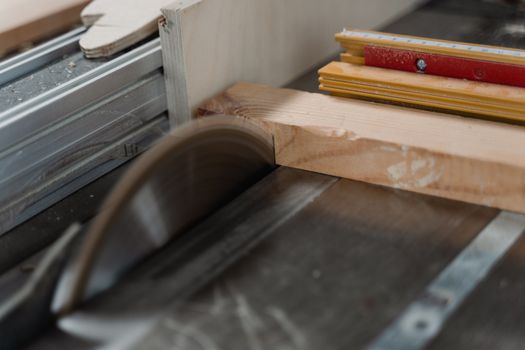
Based on your measurements, cut the reclaimed wood to the appropriate lengths. A circular saw or miter saw will work well for this task. Be sure to measure twice and cut once to avoid mistakes!
Step 6: Install the Wood
Begin installing the wood from the bottom up. Use your level to ensure that the first board is straight. Secure the wood to the studs using a nail gun or hammer with wood screws. Make sure each piece is aligned with the previous one for a seamless look.
Step 7: Finishing Touches
Once all the wood is attached, inspect your work for any gaps and fill them with wood filler if necessary. After it dries, sand the filled areas and apply a final coat of sealant to ensure everything is protected.
Additional Tips
- Consider using a moisture barrier on the wall before installation, especially in very humid areas.
- Mix and match different types of reclaimed wood for a more dynamic look.
- Always respect local building codes and regulations regarding moisture management and materials.
Where to Find Plans and Resources
If you're looking for more detailed plans and ideas for your reclaimed wood projects, check out Ted Woodworking. They offer a vast collection of woodworking plans that can help you with every step of your DIY journey.
Conclusion
Using reclaimed wood for your bathroom walls can transform your space into a cozy retreat. With the right preparation, tools, and techniques, you can create a stunning and durable feature that showcases your style and commitment to sustainability. Remember to take your time, follow these steps, and you'll be enjoying your new bathroom walls in no time!
FAQ
- Is reclaimed wood suitable for humid environments? Yes, but proper sealing and finishing are crucial to protect it from moisture.
- How do I know if the reclaimed wood is safe for indoor use? Ensure it has been treated for pests and any mold has been properly addressed.
- What tools do I need to install reclaimed wood? Basic tools like a saw, nail gun, measuring tape, and level will suffice for most projects.
📚 Related Articles
🔨 Want 16,000+ Woodworking Plans?
Get instant access to step-by-step plans with blueprints and cut lists.
Get Instant Access →