How to Install Wall Panels: A Complete DIY Guide
Installing wall panels can dramatically change the look and feel of a room, adding both style and insulation. Whether you're aiming for a rustic vibe with wood panels or a modern look with sleek PVC, this guide will walk you through the entire installation process. Plus, we’ll highlight common mistakes to avoid and troubleshooting tips to ensure your project goes smoothly.
Choosing Your Wall Panels
Before you start the installation, it’s crucial to choose the right type of wall panels.
- Material: Options range from wood, MDF, plywood, to PVC. Each has its unique finish and durability.
- Style: Decide if you want shiplap, beadboard, or flat panels. Each style will create a different ambiance.
- Color and Finish: Select colors that match your room’s decor. Consider pre-finished options for quicker installation.
Tools and Materials Needed
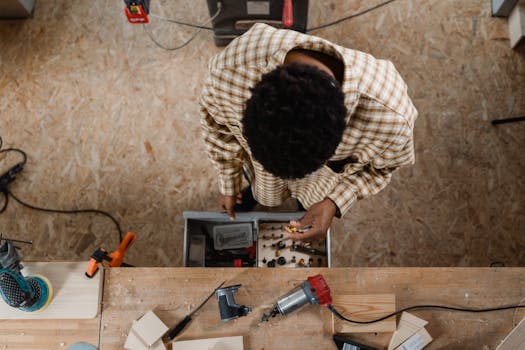
Gather your tools and materials before starting:
- Wall panels
- Measuring tape
- Level
- Pencil
- Stud finder
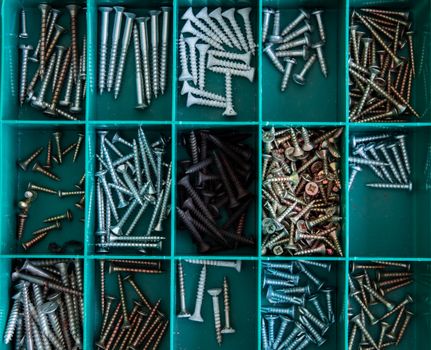
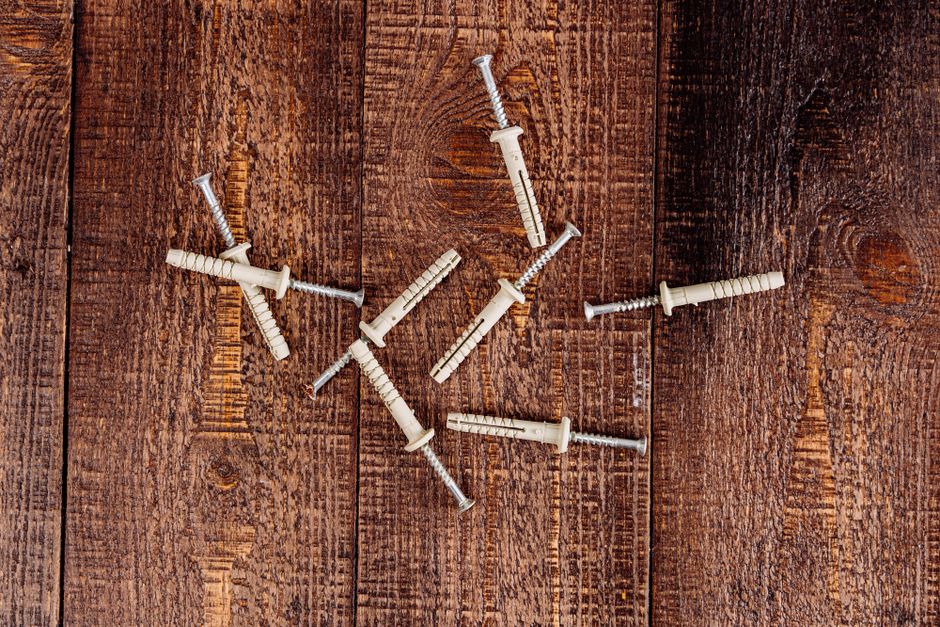
- Adhesive or nails (depending on the panel type)
- Caulk and caulking gun
- Power saw
- Safety goggles
- Dust mask
Preparation and Planning
Proper preparation is key to a successful installation.
- Measure the Wall: Use a measuring tape to determine the height and width of the wall where you will install the panels.
- Locate the Studs: Use a stud finder to locate the wall studs. Mark these locations with a pencil; they’ll be where you secure your panels.
- Cut Panels to Size: If your panels are too large, measure and cut them to fit using a power saw. Always wear safety goggles and a dust mask when cutting.
Installation Process
Now it’s time to install the panels!
- Start at the Bottom: Begin installing the panels at the bottom of the wall. This ensures a level starting point.
- Apply Adhesive or Nail: If using adhesive, apply it to the back of the panel. For nails, position the panel and secure it into the studs you marked earlier.
- Use a Level: After placing each panel, use a level to ensure it’s straight. Adjust as necessary before the adhesive sets or before nailing.
- Continue Installing: Repeat the process for each panel, ensuring you stagger seams for a more natural look.
- Finish Edges: Once all panels are installed, use caulk to fill any gaps between panels and the wall for a clean finish.
Common Mistakes to Avoid
While installing wall panels can be straightforward, several common mistakes can lead to issues:
- Skipping Measurements: Always double-check your measurements before cutting. An incorrect cut can waste materials and time.
- Ignoring Wall Conditions: Ensure the wall is clean, dry, and free from mold or moisture before installation. This can prevent future issues.
- Forgetting About Expansion Gaps: If using wood panels, remember to leave space for expansion and contraction. This prevents buckling during changes in humidity.
- Not Using a Level: Installing panels without checking for levelness can result in a crooked appearance. Always use a level during installation.
Troubleshooting Tips
If you encounter issues during your installation, here are some tips to troubleshoot:
- Poor Adhesion: If panels are not sticking, ensure you are using the correct adhesive for your panel type and that the wall is clean.
- Gaps Between Panels: If you notice gaps, you can fill them with caulk or wood filler, or consider re-seating the panels.
- Crooked Panels: If panels appear crooked, remove them and re-install, ensuring the use of a level for proper alignment.
Resources for Your Project
For detailed plans and more woodworking ideas, consider checking out Ted Woodworking, which offers a wide range of woodworking plans suitable for all skill levels.
Conclusion
Installing wall panels is a rewarding DIY project that can enhance your home’s aesthetic. By following this guide and avoiding common pitfalls, you can achieve a professional-looking finish. Remember to take your time, plan carefully, and enjoy the process!
Frequently Asked Questions (FAQ)
- How long does it take to install wall panels? The time required can vary based on the size of the area and experience level, but most projects can be completed in a weekend.
- Do I need special tools to install wall panels? Basic tools like a saw, level, and adhesive are typically sufficient. However, specific panel types may require additional tools.
- Can I install wall panels over existing drywall? Yes, as long as the drywall is in good condition. This can even provide additional insulation and soundproofing.
📚 Related Articles
🔨 Want 16,000+ Woodworking Plans?
Get instant access to step-by-step plans with blueprints and cut lists.
Get Instant Access →