Introduction
If you are considering a flooring update but want to avoid the hassle of tearing out your existing tile, you may be wondering, "Can I install vinyl flooring over existing tiles?" The good news is, yes, you can! This beginner-friendly guide will walk you through the process step-by-step, ensuring you have a seamless installation experience.
Why Choose Vinyl Flooring?
Vinyl flooring has become a popular choice for many homeowners due to its affordability, durability, and variety of styles. Here are a few reasons why you might consider it for your next flooring project:
- Water Resistance: Vinyl is naturally water-resistant, making it ideal for kitchens and bathrooms.
- Easy Maintenance: Cleaning vinyl flooring is a breeze; a simple sweep and mop will do.
- Comfortable Underfoot: It provides a softer surface compared to tile.
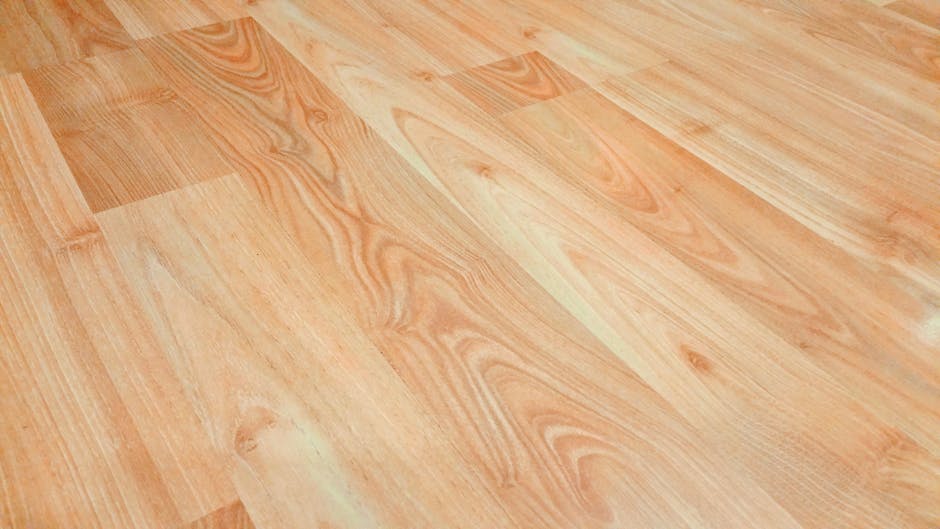
- Variety of Styles: With many designs available, it can mimic the look of wood, stone, or even ceramic tiles.
Tools and Materials Needed
Before you start your project, gather the necessary tools and materials:
- Vinyl flooring of your choice
- Measuring tape
- Utility knife
- Straightedge or ruler
- Adhesive (if using glue-down vinyl)
- Underlayment (optional, for added comfort and sound reduction)
- Floor roller (for smoothing out the vinyl)
- Cleaning supplies (broom, mop, etc.)
Step-by-Step Guide to Installing Vinyl Flooring Over Tiles
Step 1: Prepare the Existing Tile Floor
Start by cleaning your existing tile thoroughly. Remove any debris, dirt, and grease to ensure a smooth surface for the vinyl. Use a broom and mop, and let the floor dry completely.
Step 2: Inspect the Tiles
Check for any cracked or loose tiles. If you find any, you will need to repair or replace them to prevent the vinyl from cracking or shifting. Make sure the surface is even, as significant height differences can affect the installation.
Step 3: Decide on Underlayment
While some vinyl flooring can be installed directly over tiles, using an underlayment can provide extra cushioning and soundproofing. If you choose to use one, ensure it's compatible with vinyl flooring.
Step 4: Measure and Cut the Vinyl
Measure the dimensions of the room and cut the vinyl flooring accordingly. Use a straightedge and utility knife for precise cuts. It’s better to err on the side of caution and cut slightly larger than needed; you can always trim excess later.
Step 5: Lay Out the Vinyl Sheets
Before adhering the vinyl, lay out the pieces in the room to visualize how they fit. Make adjustments as needed to ensure a seamless look. Pay attention to the direction of the pattern; aligning it can enhance the overall appearance.
Step 6: Install the Vinyl Flooring
Depending on the type of vinyl flooring you are using, the installation will differ:
- Glue-Down Vinyl: Apply adhesive to the floor using a notched trowel, then lay the vinyl sheets on top, pressing firmly.
- Click-Lock Vinyl: Simply click the pieces together, following the manufacturer’s instructions.
- Loose Lay Vinyl: This type can be placed directly on the surface without adhesive, making it easy to replace later.
Step 7: Roll the Floor
Once your vinyl is laid out, use a floor roller to press down on the surface, eliminating any air pockets and ensuring proper adhesion. This step is particularly important for glue-down vinyl.
Step 8: Trim Edges and Finishing Touches
After the vinyl is installed, carefully trim any excess material along the walls with your utility knife. Add baseboards or trim to cover the edges and provide a finished look.
Additional Tips for Success
- Always check the manufacturer’s recommendations for installation, as specific products may have unique requirements.
- Consider acclimating your vinyl flooring in the room where it will be installed for at least 48 hours before installation.
- If you want to explore more detailed plans and resources for flooring projects, check out Ted Woodworking for great ideas and guidance.
Conclusion
Installing vinyl flooring over existing tiles is a practical and effective way to update your space without the need for extensive demolition. By following these simple steps, you can achieve a beautiful result that enhances your home’s aesthetic and functionality.
FAQ
Can I install vinyl flooring over cracked tiles?
It is not recommended to install vinyl flooring over cracked tiles without repairing them first, as this can lead to further damage and issues with the vinyl.
Do I need to use adhesive for vinyl flooring?
It depends on the type of vinyl flooring you choose. Glue-down vinyl requires adhesive, while click-lock and loose lay options do not.
How long does vinyl flooring last?
With proper care, vinyl flooring can last anywhere from 10 to 20 years, depending on the quality of the product and the level of foot traffic in the area.
📚 Related Articles
🔨 Want 16,000+ Woodworking Plans?
Get instant access to step-by-step plans with blueprints and cut lists.
Get Instant Access →