How to Make a DIY Kitchen Table from Reclaimed Wood
Building a kitchen table from reclaimed wood is not only a sustainable choice but also a rewarding project that adds character to your home. This guide will walk you through the process of creating your own kitchen table, while highlighting common mistakes to avoid and offering troubleshooting tips along the way. Let's get started!
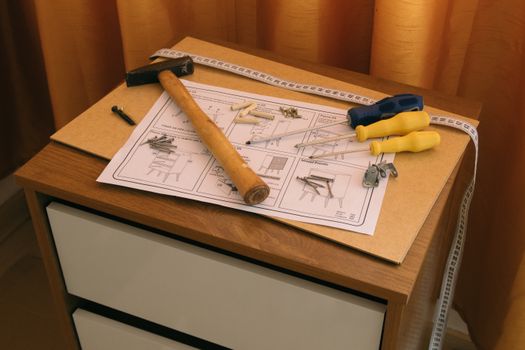
Gathering Your Materials
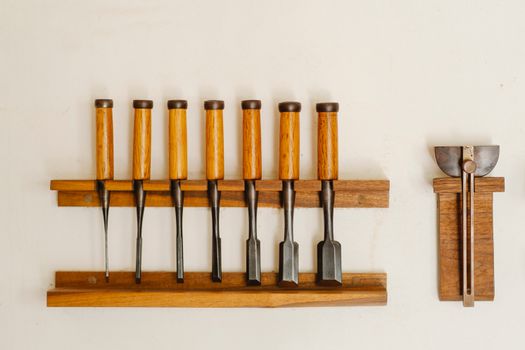
Before you start, you need to gather the right materials. Here’s what you’ll typically need:
- Reclaimed wood: Look for old barn wood, pallets, or any other salvaged wood that is sturdy and aesthetically pleasing.
- Wood screws: Choose screws that are appropriate for the thickness of your wood.
- Wood glue: This will help to reinforce joints.
- Sandpaper: Various grits for smoothing the surface.
- Finish: Consider oil, stain, or polyurethane for protection.
- Tools: Circular saw, drill, measuring tape, and a square.
Step-by-Step Instructions
1. Planning Your Design
Before cutting any wood, it’s crucial to have a plan. Sketch out your table dimensions and design. A common mistake here is not measuring your space accurately. Ensure to leave ample room for chairs and movement.
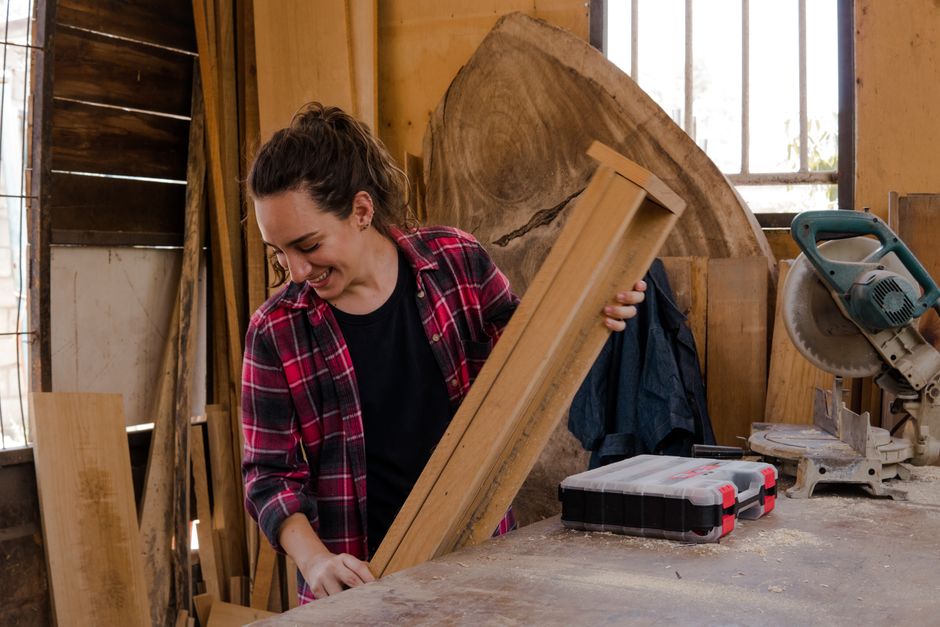
2. Selecting and Preparing the Wood
Once you have your design, select the reclaimed wood that fits your aesthetic. Clean the wood thoroughly to remove any dirt or old finishes. Use a wire brush or sandpaper to get into the grooves. Be cautious of nails or screws in the wood; they can damage your tools.
3. Cutting the Wood to Size
Using a circular saw, cut the wood to the desired lengths. To avoid mistakes:
- Double-check your measurements before cutting.
- Use a square to ensure your cuts are straight and accurate.
- Cut the wood in a well-lit area to avoid errors.
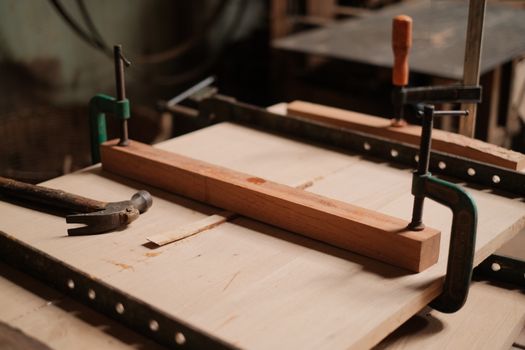
4. Assembling the Tabletop
Lay out the pieces of wood for your tabletop. A common mistake is not accounting for the wood's warping or uneven surfaces. Use wood glue to attach the pieces side by side, and clamp them until dry. To prevent gaps, use a caul to apply even pressure.
5. Attaching the Legs
For stability, choose a leg design that suits your style. Common options include a simple four-leg design or a trestle style. When attaching the legs:
- Mark the positions precisely to avoid misalignment.
- Use wood screws to secure the legs, but do not overtighten them, as this can split the wood.
6. Sanding and Finishing
Once assembled, sand the entire table to eliminate rough spots. Start with a coarse grit and finish with a fine grit for a smooth surface. A common pitfall is not sanding enough; this can lead to a rough finish that is uncomfortable to use.
After sanding, apply the finish of your choice. This will protect the wood and enhance its natural beauty. Always test the finish on a scrap piece first to ensure you like the result.
Common Mistakes to Avoid
- Ignoring Wood Quality: Not all reclaimed wood is created equal. Inspect for rot or insect damage.
- Skipping the Drying Process: If you’re using recently reclaimed wood, ensure it is properly dried to prevent warping.
- Neglecting to Seal the Wood: A good finish is essential to protect against spills and wear.
- Rushing the Assembly: Take your time to ensure everything fits well; this will save you from headaches later.
Troubleshooting Tips
If you encounter issues, here are some troubleshooting tips:
- Uneven Legs: Use shims to level the table if it wobbles.
- Visible Glue Lines: If glue has seeped out, use a damp cloth to clean it up before it dries.
- Rough Finish: If the finish is not smooth, sand the area lightly and reapply the finish.
Resources for Further Planning
If you're looking for detailed plans and additional ideas, consider checking out Ted Woodworking. They offer a variety of woodworking plans that can inspire your next project.
Conclusion
Building a DIY kitchen table from reclaimed wood can be an exciting and fulfilling project. By avoiding common mistakes and following these troubleshooting tips, you’ll create a beautiful, functional piece of furniture that will last for years. Happy woodworking!
FAQ
1. Can I use any type of reclaimed wood for my kitchen table?
While most reclaimed wood can be used, it is best to choose hardwoods like oak or maple for durability.
2. How do I maintain my reclaimed wood table?
Regular dusting and occasional oiling will help maintain its appearance and protect it from moisture.
3. Is reclaimed wood safe for food preparation?
Yes, as long as it has been properly cleaned and finished, reclaimed wood is safe for food preparation surfaces.
📚 Related Articles
🔨 Want 16,000+ Woodworking Plans?
Get instant access to step-by-step plans with blueprints and cut lists.
Get Instant Access →