Introduction
Are you looking to spruce up your living room with some DIY furniture projects? If so, you might be wondering whether plywood is a suitable material for your creations. Plywood is a versatile and cost-effective option for many woodworking projects, making it an excellent choice for beginners. In this article, we will explore how to use plywood in your DIY living room projects, the advantages of using it, and provide you with a step-by-step guide on getting started.
Why Choose Plywood?
Plywood is a manufactured wood panel made from thin sheets of wood veneer glued together. Here are some reasons why plywood is a great choice for DIY furniture:
- Affordability: Plywood is generally less expensive than solid wood, making it accessible for budget-conscious DIYers.
- Strength and Durability: Plywood is engineered to be strong, providing excellent structural integrity for furniture pieces.
- Ease of Use: It is easy to cut, shape, and finish, making it beginner-friendly.
- Variety of Finishes: Plywood comes in various wood types and finishes, allowing you to choose the look that fits your style.
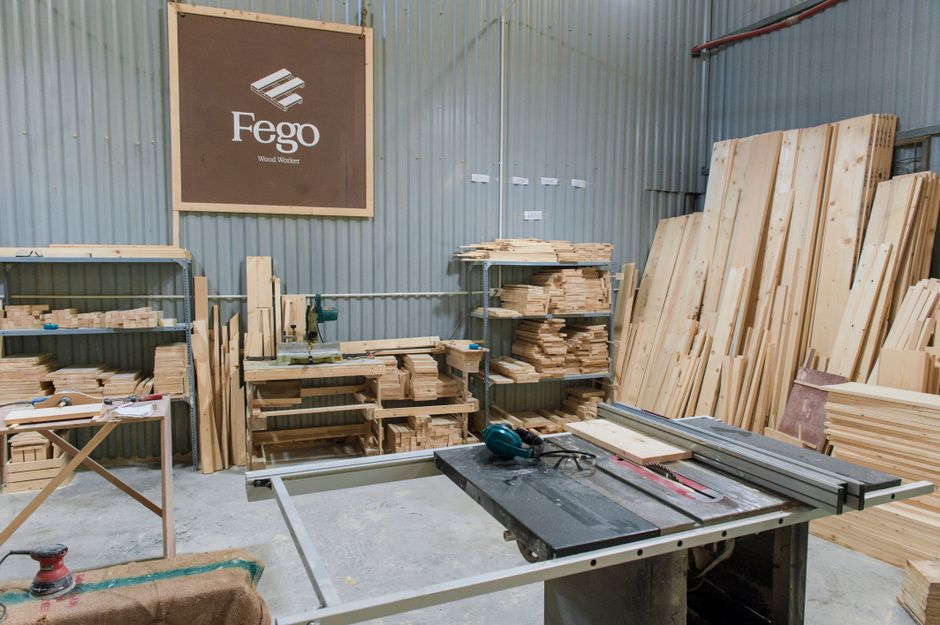
Basic Tools You Will Need
Before you start your DIY living room projects, you will need some basic tools. Here’s a simple list to get you started:
- Measuring tape
- Circular saw or jigsaw
- Drill and drill bits
- Screwdriver
- Sandpaper or a power sander
- Wood glue
- Clamps
- Paint or wood finish (optional)
Step-by-Step Guide to Using Plywood in Your Living Room Projects
Now that you have your tools and materials ready, let's dive into the steps for creating your DIY furniture using plywood.
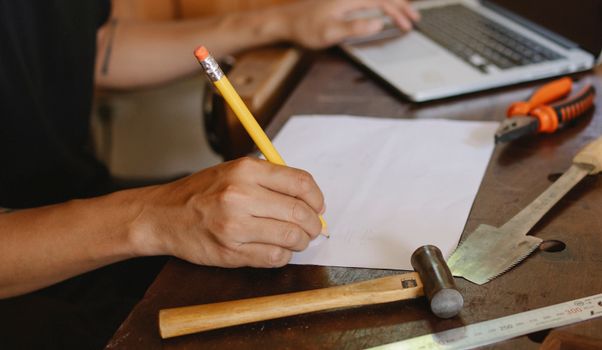
Step 1: Plan Your Project
Start by determining what piece of furniture you want to create. Popular options for living rooms include:
- Coffee tables
- Shelves
- TV stands
- Side tables
Once you have an idea, sketch a design and take measurements to ensure it fits your space.
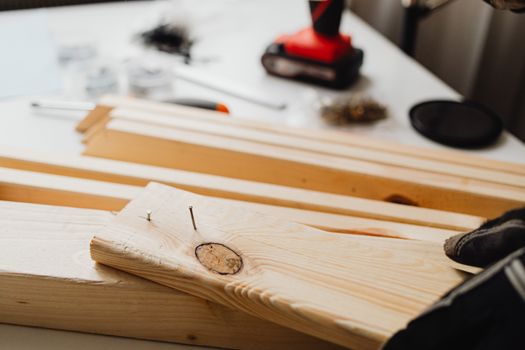
Step 2: Gather Materials
Once your design is in place, gather all necessary materials. Purchase plywood sheets that suit your project’s size and desired thickness. You can find plywood at local hardware stores or lumberyards. Don’t forget to pick up screws, wood glue, and any finishing materials like paint or varnish.
Step 3: Cut the Plywood
Using your circular saw or jigsaw, carefully cut the plywood according to your measurements. If you are uncertain about your cutting skills, practice on a scrap piece of plywood first. Ensure your cuts are straight and smooth, and wear safety goggles for protection.
Step 4: Assemble the Pieces
Once your pieces are cut, it’s time to assemble your furniture. Start by laying out all the pieces according to your design. Use wood glue to bond the joints and secure them with clamps. For added strength, use screws to fasten the connections. Be sure to pre-drill holes to prevent the plywood from splitting.
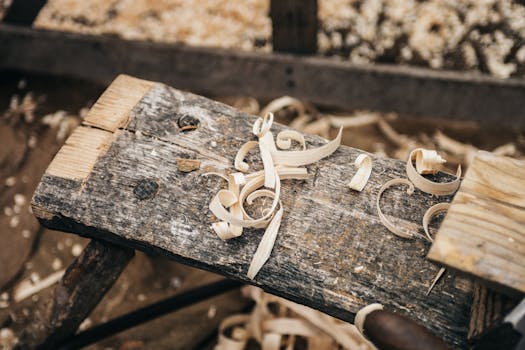
Step 5: Sand the Edges
After the assembly is complete, use sandpaper or a power sander to smooth out any rough edges. This step is crucial for achieving a professional finish and ensuring safety, especially if you have children around.
Step 6: Finish Your Project
Now comes the fun part—finishing your furniture! You can paint, stain, or apply a clear varnish to enhance the appearance of your plywood. Choose a finish that complements your living room decor. Allow the finish to dry completely before using the furniture.
Step 7: Enjoy Your New Furniture!
Once your project is completed and the finish has dried, it’s time to place it in your living room. Enjoy the satisfaction of having created something beautiful and functional with your own hands!
Resources for Further Help
If you are looking for more detailed plans and ideas, consider checking out Ted Woodworking. They offer a wealth of woodworking plans suitable for all skill levels, ensuring you have all the guidance you need for successful DIY projects.
Conclusion
Plywood is an excellent material for DIY living room projects, offering both affordability and versatility. With the right tools and a bit of creativity, you can create beautiful furniture that enhances your living space. Don’t be afraid to experiment and let your personality shine through your designs!
Frequently Asked Questions (FAQ)
Can plywood be used for outdoor furniture?
Plywood is generally not recommended for outdoor furniture unless it is treated or sealed properly, as exposure to moisture can lead to warping and damage.
What thickness of plywood should I use for furniture?
A thickness of 3/4 inch is commonly used for most furniture projects, as it provides good strength and stability. Thinner plywood can be used for less load-bearing applications.
How can I make plywood look more attractive?
You can make plywood look more attractive by applying paint, stain, or a clear finish. Additionally, you can add decorative elements like trim or hardware to enhance the look.
📚 Related Articles
🔨 Want 16,000+ Woodworking Plans?
Get instant access to step-by-step plans with blueprints and cut lists.
Get Instant Access →