How to Organize Craft Supplies with DIY Drawer Dividers
Are your craft supplies scattered all over the place? Do you find yourself rummaging through drawers, boxes, and baskets just to find that perfect shade of paint or the right tool? If so, it sounds like it’s time to tackle the chaos and get organized! In this article, we will explore how to create DIY drawer dividers that not only help to organize your craft supplies but also prevent future clutter.
Why Use Drawer Dividers?
Drawer dividers are an excellent solution for organizing various items. They allow you to separate your supplies, making it easier to find what you need without the hassle of digging through a jumbled mess. Whether you are a seasoned crafter or just starting, having an organized workspace can significantly boost your creativity and productivity.
Common Mistakes to Avoid
Before we dive into the step-by-step process of creating your own drawer dividers, let’s discuss some common mistakes to avoid:
- Overestimating Drawer Space: One of the biggest mistakes is assuming that you have plenty of room in your drawers. Always measure the drawer's dimensions before planning your dividers.
- Ignoring Supply Sizes: Failing to consider the sizes of your supplies can lead to ineffective dividers. Take stock of what you have to ensure your dividers accommodate everything.
- Choosing the Wrong Material: Not all materials work well for dividers. Some materials may warp or break under pressure. Choose durable materials like plywood or MDF.
- Skipping the Planning Stage: Jumping straight into building without a clear plan often leads to mistakes. Sketch out your design and layout before starting.
- Not Securing the Dividers Properly: Ensure your dividers are securely placed within the drawer. Loose dividers can lead to a messy situation.
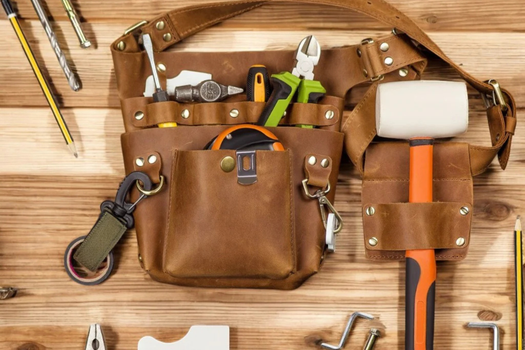
Materials You Will Need
Before you start building your DIY drawer dividers, gather the following materials:
- Wood (such as plywood or MDF)
- Measuring tape
- Pencil
- Wood glue or screws
- Table saw or circular saw
- Sander
- Paint or finish (optional)
Step-by-Step Guide to Building Drawer Dividers
Now that you’re aware of the common mistakes, let’s get started on creating your DIY drawer dividers.
Step 1: Measure Your Drawer
Begin by measuring the width, depth, and height of your drawer. Write down these measurements, as they will guide your divider design.
Step 2: Plan Your Layout
Next, sketch out your divider layout. Decide how many compartments you want and how big they should be based on the supplies you have. Consider leaving some space for future craft supplies.
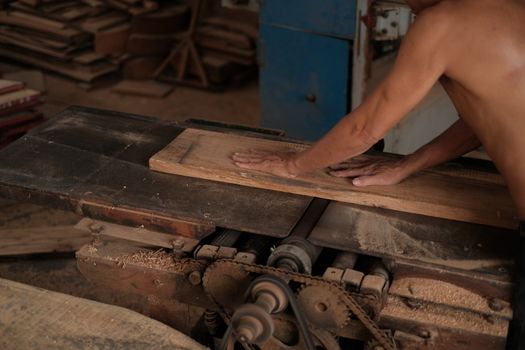
Step 3: Cut the Wood
Using a table saw or circular saw, cut your wood to the desired dimensions based on your layout plan. Make sure to wear safety gear while cutting!
Step 4: Sand the Edges
After cutting, sand the edges of the wood pieces to ensure they are smooth. This will prevent splinters and make your dividers look professional.
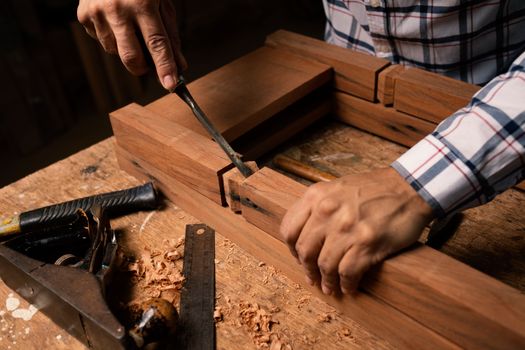
Step 5: Assemble the Dividers
Start assembling your dividers inside the drawer. Use wood glue or screws to secure them in place. Ensure each divider is straight and stable.
Step 6: Finish the Dividers
If desired, you can paint or stain the dividers to match your drawer or decor. Allow sufficient drying time before placing them back into the drawer.
Troubleshooting Tips
Even with careful planning, you may encounter some issues during the building process. Here are some troubleshooting tips:
- Dividers Don’t Fit: If your dividers are too large or too small, double-check your measurements. Adjust accordingly and recut if necessary.
- Dividers are Wobbly: If your dividers aren’t stable, ensure they are securely glued or screwed in. You might need to add additional support if they are still wobbly.
- Materials Splitting: If the wood splits while cutting, ensure you are using the correct blade and technique. Consider pre-drilling holes for screws to avoid splitting.
Where to Find Plans and Inspiration
If you’re looking for more detailed plans or design inspiration, consider checking out Ted Woodworking. They offer a wide range of woodworking plans that can provide you with additional ideas and guidance for your DIY projects.
Conclusion
Organizing your craft supplies with DIY drawer dividers can save you time and frustration. By avoiding common mistakes and following our troubleshooting tips, you can create an efficient and attractive storage solution for your craft room. With a little effort, you’ll have a perfectly organized workspace that inspires your creativity.
FAQ
- How do I know the best size for my dividers? Measure your supplies and plan your compartments accordingly. Make sure to leave space for future items.
- Can I use cardboard for dividers? While cardboard can work for lightweight items, opt for wood or sturdy plastic for a more durable solution.
- What is the best way to secure the dividers? Use wood glue for a permanent solution or screws for added stability, especially if the dividers are tall or hold heavy items.
📚 Related Articles
🔨 Want 16,000+ Woodworking Plans?
Get instant access to step-by-step plans with blueprints and cut lists.
Get Instant Access →