Introduction
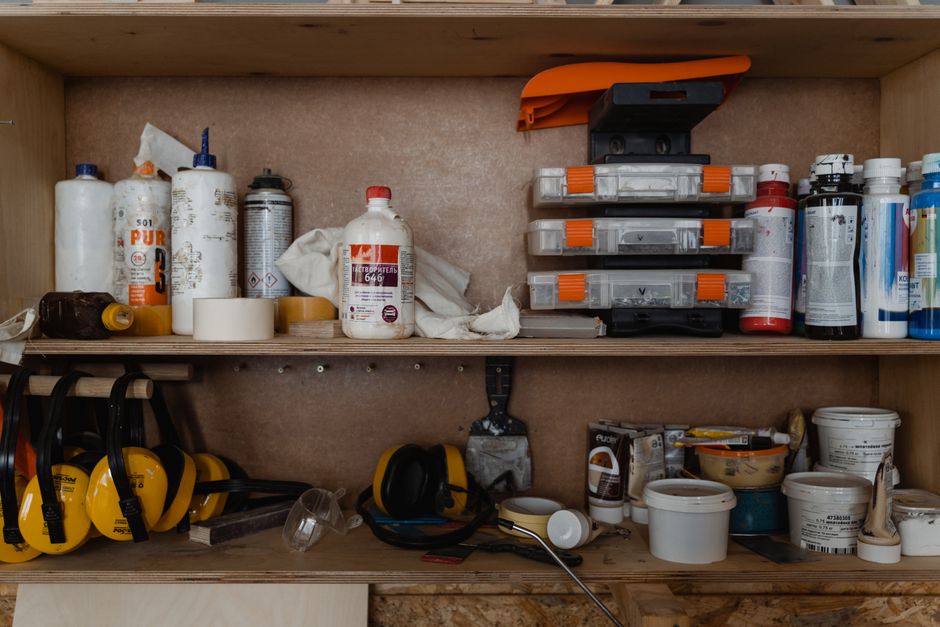
If you're a craft enthusiast, you know how easily supplies can pile up, turning your workspace into a chaotic mess. Organizing your craft room can not only save you time but also boost your creativity. In this article, we will explore some of the best DIY storage hacks that are perfect for beginners. These hacks require minimal tools and are easy to implement, making your craft room a functional and inspiring space.
1. Use Pegboards for Versatile Organization
Pegboards are a fantastic way to keep your supplies visible and accessible. They can hold anything from scissors to ribbons and paintbrushes. Here’s how to create your own pegboard storage:
- Materials Needed: A pegboard, wall brackets, screws, and peg hooks.
- Tools Required: Drill, screwdriver, level, and pencil.
Steps:
- Choose a wall in your craft room where you want to install the pegboard.
- Use a level to mark where the top of the pegboard will go.
- Attach the wall brackets to the wall using screws.
- Hang the pegboard on the brackets.
- Insert peg hooks into the pegboard and hang your tools and supplies.
2. Repurpose Mason Jars for Small Items
Mason jars are not just for canning; they can also serve as stylish storage for small craft items like buttons, beads, and threads. Here’s how to organize your small items using mason jars:
- Materials Needed: Mason jars, labels, and a tray or shelf.
- Tools Required: None needed!
Steps:
- Sort your small craft items by type.
- Fill each mason jar with a different type of item.
- Label each jar for easy identification.
- Arrange the jars on a tray or shelf for an organized look.
3. Create a Rolling Cart for Mobility
A rolling cart can be a game-changer in a craft room, allowing you to move supplies where you need them. Here’s how to make your own DIY rolling cart:
- Materials Needed: A small wooden cart or a sturdy bookshelf on wheels, paint or stain (optional).
- Tools Required: Drill and paintbrush (if painting).
Steps:
- If using a bookshelf, attach wheels to the bottom of each leg.
- Sand down any rough edges and paint or stain if desired.
- Use baskets or bins to categorize supplies on the cart.
- Store the cart in a corner when not in use, and roll it out when you need access to your supplies.
4. Use Baskets to Group Similar Items
Baskets are a great way to store larger items or to group similar supplies together. Here’s how to effectively use baskets in your craft room:
- Materials Needed: Various sizes of baskets.
- Tools Required: None needed!
Steps:
- Identify the types of supplies you have (e.g., fabric, paper, tools).
- Choose baskets that fit well on your shelves or in your closet.
- Label each basket for quick identification.
- Place similar items in each basket to keep your space organized.
5. Build a Simple Shelf for Storing Larger Items
If you have larger supplies, building a simple shelf can provide the necessary storage space. Here’s a straightforward way to create your own shelf:
- Materials Needed: Wooden boards, brackets, screws.
- Tools Required: Drill, level, and saw (if cutting wood).
Steps:
- Determine how many shelves you want and the spacing needed.
- Cut the wooden boards to your desired length (or have them cut at the store).
- Attach brackets to the wall using screws.
- Place the wooden boards on the brackets to create shelves.
- Store larger items like rolls of paper or boxes of supplies on the shelves.
6. Utilize Clear Containers for Easy Visibility
Clear containers can help you see what you have at a glance, making it easier to find supplies. Here’s how to implement this hack:
- Materials Needed: Clear plastic containers with lids.
- Tools Required: None needed!
Steps:
- Sort your supplies by type.
- Place each type of supply into a separate clear container.
- Label each container for easy reference.
- Stack or arrange the containers on shelves or in cabinets.
7. Seek Inspiration from Ted Woodworking
If you're looking for more detailed plans and ideas for building custom furniture or storage solutions, consider checking out Ted Woodworking. This resource offers a plethora of woodworking plans that can help you create personalized storage that fits your exact needs.
Conclusion
Organizing your craft room doesn't have to be complicated or expensive. By using these simple and beginner-friendly DIY storage hacks, you can create a functional, inspiring space that enhances your creativity. With just a few basic tools and materials, you can transform your craft room into a well-organized haven that allows you to focus on what you love most – crafting!
FAQ
1. What are the best materials to use for DIY craft storage?
The best materials for DIY craft storage include wood, pegboards, baskets, and clear containers. These materials are versatile and can be easily customized.
2. How can I organize my craft supplies on a budget?
Consider using repurposed items like mason jars and baskets you already have at home. Shopping at thrift stores for containers can also save you money.
3. Is it necessary to label storage containers in a craft room?
While not strictly necessary, labeling containers can save you time when searching for supplies and help maintain organization in the long run.
📚 Related Articles
🔨 Want 16,000+ Woodworking Plans?
Get instant access to step-by-step plans with blueprints and cut lists.
Get Instant Access →