How to Create a Unique Wood Frame for Living Room Artwork
Creating a unique wood frame for your living room artwork can elevate the entire space and showcase your personal style. Whether you’re framing a painting, a family photograph, or a piece of artwork, a well-crafted frame can enhance its visual appeal. However, there are several common mistakes that can occur during the building process. In this article, we will guide you through the steps to create a beautiful wood frame while highlighting common pitfalls and how to troubleshoot them.
Choosing the Right Wood
The first step in creating your unique wood frame is selecting the appropriate wood. The type of wood you choose can significantly influence the frame's appearance and durability. Here are some popular options:
- Pine: Affordable and easy to work with, but may not be as durable as hardwoods.
- Oak: A strong and durable hardwood that provides a classic look.
- Walnut: Offers a rich color and grain, perfect for a high-end finish.
- Maple: Known for its smooth texture and fine grain, making it ideal for modern designs.
**Common Mistake:** Choosing the wrong type of wood can lead to an unattractive frame or one that doesn’t hold up over time. For example, softwoods like pine can dent easily.
**Troubleshooting Tip:** Consider the weight of the artwork and the overall aesthetic you want to achieve. If you’re unsure, consult a woodworking resource like Ted Woodworking for guidance on wood selection.
Measuring and Cutting Your Wood
Accurate measurements are crucial for a well-fitting frame. Here’s how to ensure you get it right:
- Measure the dimensions of your artwork, including any matting if applicable.
- Decide on the width of the frame and add it to your measurements.
- Mark your cuts on the wood, ensuring that you account for the mitered corners.
**Common Mistake:** Failing to measure twice and cut once can result in incorrectly sized pieces.
**Troubleshooting Tip:** Use a miter saw for precise angles and ensure your cuts are straight. A square can help you check the accuracy of your cuts.
Assembling the Frame
Once your pieces are cut, it’s time to assemble the frame. Here are a few tips:
- Dry Fit: Before gluing, assemble the pieces without adhesive to check the fit.
- Use Wood Glue: Apply wood glue to the mitered edges for a strong bond.
- Clamps: Use clamps to hold the frame together while the glue dries.
**Common Mistake:** Skipping the dry fit can lead to misaligned joints and gaps in the frame.
**Troubleshooting Tip:** If you notice gaps after assembly, you can fill them with wood filler or sand the edges for a better fit.
Finishing Touches
After your frame is assembled and the glue has dried, it’s time for finishing. This can include sanding, staining, or painting:
- Sanding: Start with coarse sandpaper and progress to finer grits for a smooth finish.
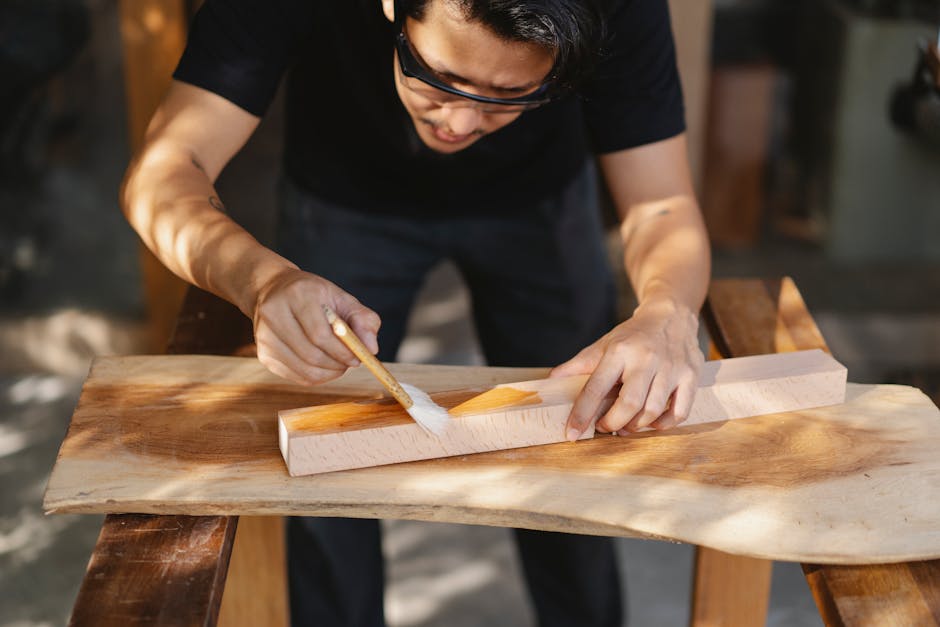
- Staining: If you choose to stain, apply it evenly and wipe off excess to achieve the desired color.
- Painting: For a modern look, consider painting your frame. Use a primer before applying your paint for the best results.
**Common Mistake:** Not sanding adequately can leave rough edges and an unprofessional look.
**Troubleshooting Tip:** Always test your stain or paint on a scrap piece of wood first to ensure the finish is what you want.
Mounting Your Artwork
After finishing the frame, it’s essential to mount your artwork securely. Here’s how:
- Backing Board: Use a sturdy backing board to support your artwork.
- Hanging Hardware: Choose appropriate hardware based on the weight of the artwork.
- Leveling: Ensure your artwork hangs straight on the wall.
**Common Mistake:** Using inadequate hardware can lead to your artwork falling, causing damage.
**Troubleshooting Tip:** For heavier pieces, consider using wall anchors or heavy-duty picture hangers to ensure stability.
Final Thoughts
Creating a unique wood frame for your living room artwork can be a rewarding DIY project. By following these steps and avoiding common mistakes, you can produce a stunning frame that complements your artwork and enhances your living space. Remember to consult resources like Ted Woodworking for detailed plans and additional tips to refine your craftsmanship. Happy framing!
FAQ
1. What is the best wood for framing artwork?
The best wood depends on your budget and the look you desire. Hardwoods like oak or walnut provide durability and an elegant appearance, while softwoods like pine are more affordable but less durable.
2. How do I choose the right finish for my frame?
Choose a finish that complements both the frame and the artwork. Stains enhance the wood grain, while paint can offer a modern touch. Always test on a scrap piece first.
3. How do I ensure my artwork hangs straight?
Use a level when hanging your artwork to ensure it is straight. Additionally, use appropriate hanging hardware based on the weight of the piece.
📚 Related Articles
🔨 Want 16,000+ Woodworking Plans?
Get instant access to step-by-step plans with blueprints and cut lists.
Get Instant Access →