How to Build a Wooden Crate Side Table for Your Bedroom
Building your own furniture can be a rewarding experience, and nothing enhances a bedroom quite like a beautiful wooden crate side table. Not only does it provide a functional surface for your lamp, books, or a glass of water, but it adds a rustic charm to your space. In this article, we will guide you through the process of building a wooden crate side table, while highlighting common mistakes to avoid and offering troubleshooting tips.
Materials Needed
- Wood crates (2 or 3, depending on desired height)
- Screws
- Wood glue
- Sandpaper (120 and 220 grit)
- Wood stain or paint
- Sealer (optional)
- Wood finish (optional)
- Tools (screwdriver, saw, measuring tape, level)
Step-by-Step Instructions
Follow these steps to create your wooden crate side table:
1. Choose Your Crates
Select wooden crates that are sturdy and in good condition. You can often find these at local craft stores or online. Choose a style that matches your bedroom decor.
2. Prepare the Crates
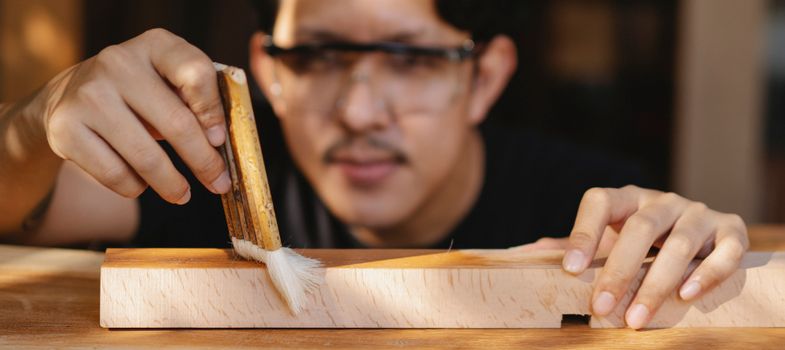
Before assembling, sand the crates to remove any rough edges. This step is crucial as it prevents splinters and ensures a smooth finish. Use 120 grit sandpaper for initial sanding followed by 220 grit for a finer finish.
3. Assemble the Crates
If you are stacking the crates, decide on the arrangement (e.g., two crates stacked on top of one another or three for a taller table). Use wood glue and screws to secure the crates together. This is where many beginners make mistakes by either over-tightening screws or not using enough glue.
4. Ensure Stability
As you assemble the crates, use a level to ensure they are even. An uneven table can be frustrating and may lead to spills or accidents. If the crates are not level, adjust them by sanding down the bottom of the higher crate or adding small wood shims underneath.
5. Finish the Table
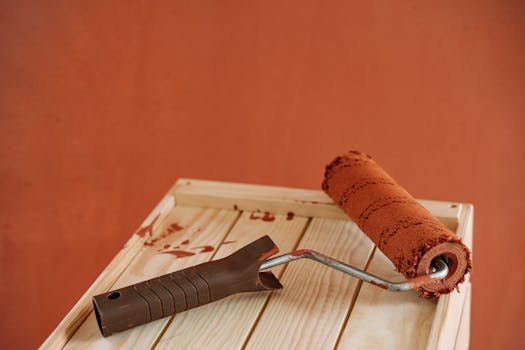
Once your crates are assembled, it's time to apply your desired finish. You can choose to stain the wood for a rich, natural look or paint it to match your decor. Be sure to apply a sealer if you want added protection against wear and tear.
Common Mistakes to Avoid
As with any woodworking project, there are pitfalls that can lead to frustration. Here are some common mistakes to avoid when building your wooden crate side table:
- Rushing the Sanding Process: Skipping sanding or rushing through it can lead to a rough finish. Make sure to take your time and achieve a smooth surface before applying any finishes.
- Ignoring Measurements: Always measure twice and cut once. Failing to accurately measure can result in uneven or unstable tables. Use a measuring tape and a square for precise cuts.
- Not Using Enough Adhesive: When gluing crates together, not applying enough wood glue can result in weak joints. Ensure you use a generous amount and clamp the pieces together until the glue sets.
- Over-tightening Screws: While it's important to secure your crates, over-tightening can split the wood. Tighten screws just enough to hold the crates together securely.
- Neglecting to Test Stability: Before finishing, always test the stability of your table. If it wobbles, it’s essential to address the issue before applying any finish.
Troubleshooting Tips
If you encounter issues during your build, here are some troubleshooting tips:
- Wobbly Table: If your table is wobbly, check that all legs are resting evenly on the floor. You can add felt pads under the legs or adjust the height with shims.
- Uneven Finish: If your stain or paint is uneven, it may be due to improper application. Make sure you are using even strokes and allow adequate drying time between coats.
- Difficulty with Assembly: If you're having trouble fitting pieces together, double-check your measurements and ensure that you’re using the right screws for the thickness of your wood.
Final Thoughts
Building a wooden crate side table for your bedroom can be a fulfilling project. With careful planning, attention to detail, and by avoiding common mistakes, you can create a beautiful piece that adds both style and function to your space. If you're looking for more detailed plans and guidance, consider checking out Ted Woodworking for excellent resources.
FAQs
- How long does it take to build a wooden crate side table?
Depending on your skill level and the complexity of your design, it can take anywhere from a few hours to a couple of days. - Can I customize the size of my side table?
Absolutely! You can adjust the number of crates and their sizes to fit your desired dimensions. - What type of wood is best for this project?
Pine is a great choice for beginners due to its affordability and ease of work, but you can use any hardwood for a more durable table.
📚 Related Articles
🔨 Want 16,000+ Woodworking Plans?
Get instant access to step-by-step plans with blueprints and cut lists.
Get Instant Access →